Salmon Arm Mulch & Drainage Rocks Checklist: Spring Prep Guide for Okanagan Homeowners
Spring in Salmon Arm arrives on its own schedule. Salmon Arm sits in the Shuswap and runs cooler with more moisture than the Okanagan. Spring work typically starts 2-3 weeks later than Kelowna. That means the spring prep window between snowmelt and peak growing season is shorter than it feels, and getting the order of operations right avoids redoing work or missing the best planting and installation windows. This checklist is built for Salmon Arm and the surrounding area, not generic advice written for Vancouver or Southern Ontario. The timing, the water restriction context, and the climate zone notes reflect [mulch & drainage rocks conditions in Salmon Arm](/services/mulch-drainage-rocks/salmon-arm/) specifically. Work through this in order — some tasks create the conditions for others to work properly, and jumping ahead costs time. If you're managing a full property refresh and want professional help with any part of this, Cool Runnings serves Salmon Arm and provides free estimates. Call or text (250) 307-9220.
Step 1: Assess Before You Act
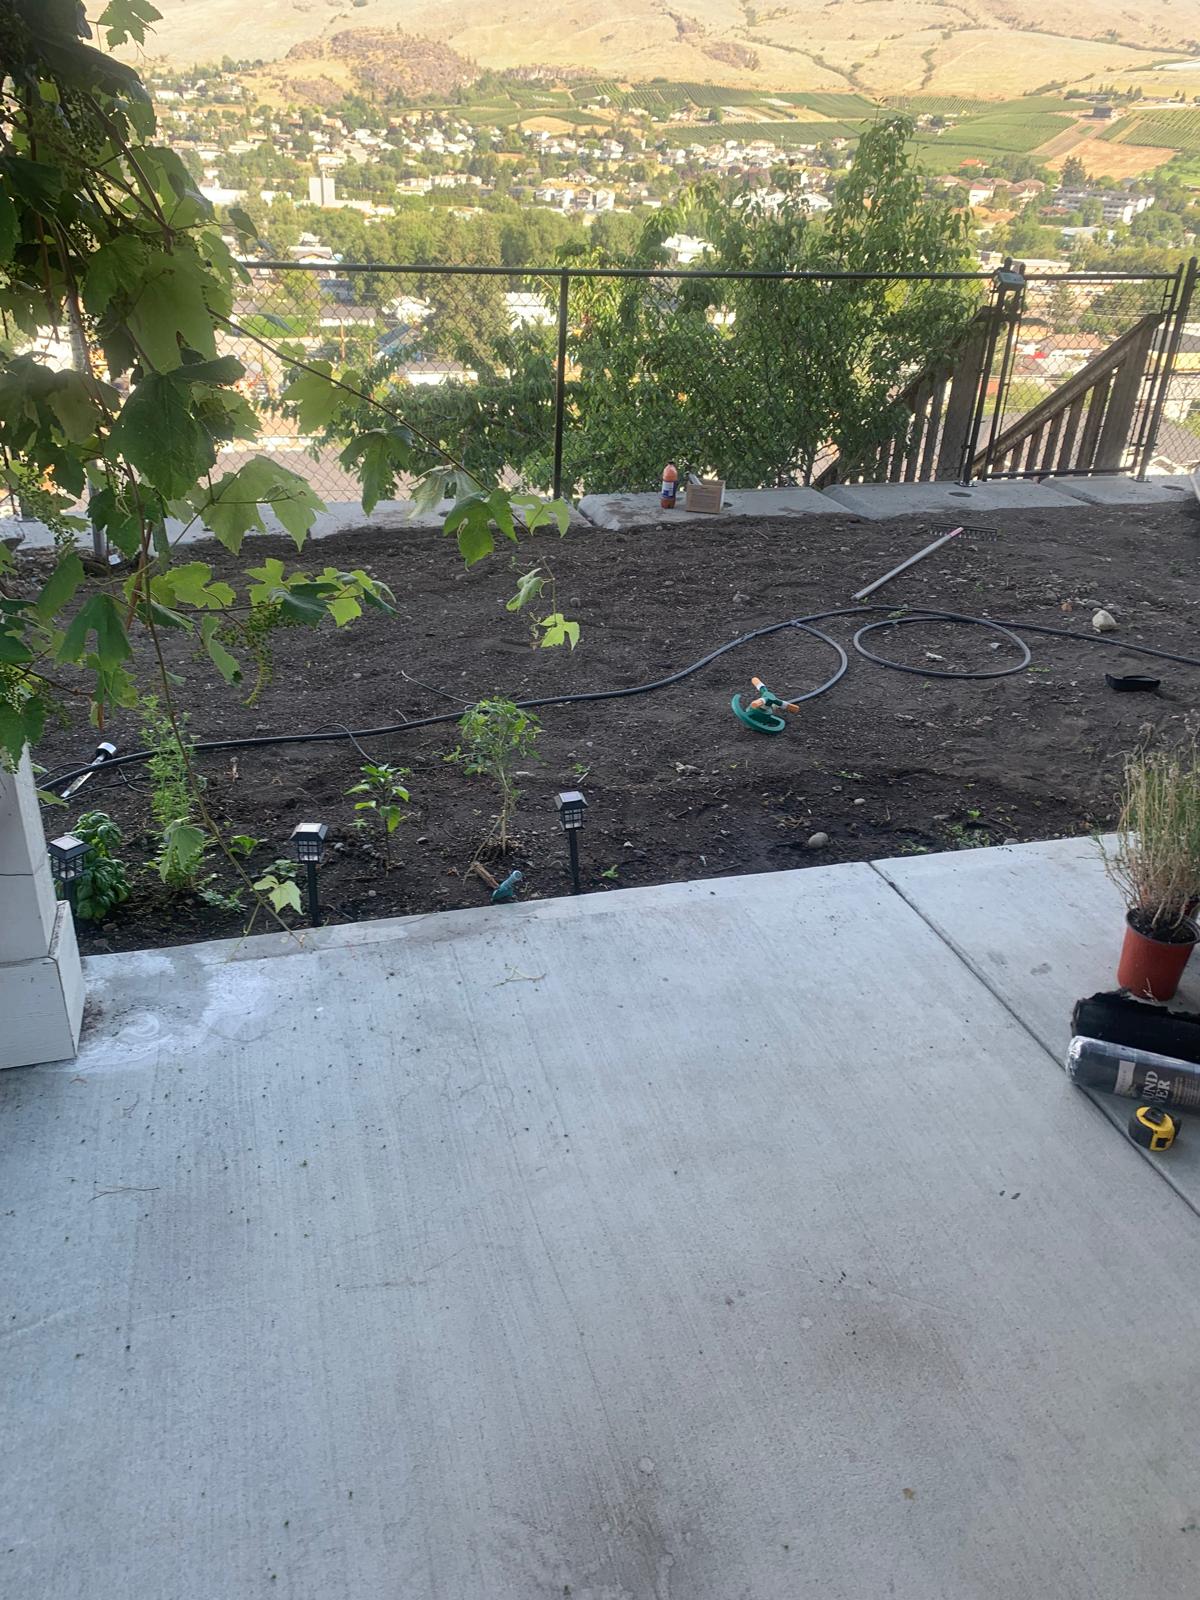
The first job every spring is a proper walk of your property before you do anything else. This sounds obvious but most homeowners skip straight to raking or scheduling work without noting what actually needs attention.
Walk the full perimeter and document:
- **Existing mulch or rock depth**: Mulch that's compacted to less than 2 inches needs refreshing. Bare soil with no coverage should be prioritized. - **Weed pressure under existing coverage**: Lift a corner of existing mulch. Heavy weed establishment underneath means the fabric has degraded or was never installed. This needs addressing before you top it up. - **Edging condition**: Are bed edges defined and holding material in? If edging is failing, material you add will migrate to the lawn within one season. - **Drainage problem areas**: Note any zones that pool water or stay soggy. Drainage rock projects should address these before general coverage installation.
In Salmon Arm's dry climate, mulch serves double duty: moisture retention and weed suppression. Getting coverage in place by early May means the soil moisture from spring snowmelt is protected through the summer dry period.
Salmon Arm receives more rainfall than the Okanagan (440mm vs 350mm) and summers, while warm, are less severe. Water restrictions are less common but still possible in dry years.
Step 2: Prep the Beds Before Material Arrives
Putting mulch or rock over unprepared beds is a waste of material and money. The prep step takes time but determines how long your coverage lasts and how effective it is.
**Clear all weeds from existing beds**: Remove weeds to the root level before ordering material. Burying weeds under mulch just delays them by one season for most species. Annual weeds can often be suppressed by mulch; perennial weeds (bindweed, thistle, quackgrass) will push through.
**Assess and replace landscape fabric**: If the existing weed barrier is torn, degraded, or only partial, remove it and start fresh. Old fabric that's half-buried in compacted mulch is worse than no fabric — it prevents water penetration while not stopping weeds.
**Set or repair bed edging**: Edge material (metal, plastic, or stone) keeps mulch and rock from migrating into the lawn. If edging is missing or failing, address this before delivery. Retrenching an edge takes 20-30 minutes per linear foot and is impossible to do cleanly once material is in place.
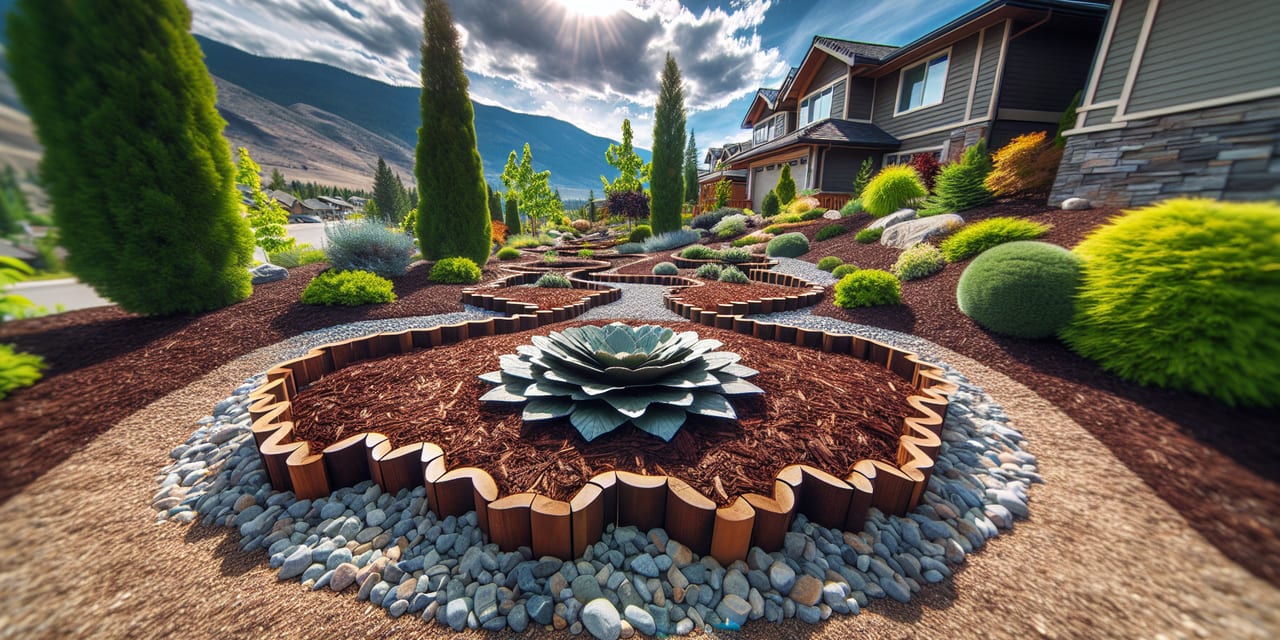
**Measure coverage area accurately**: Calculate square footage (length × width) for each bed. At 3-inch depth, one cubic yard of material covers approximately 100 square feet. Ordering short means a second delivery charge; ordering too much means moving excess material.
In Salmon Arm's dry climate, apply mulch to a depth of 4 inches for maximum moisture retention. Rock coverage at 2-3 inches is sufficient. Going thinner than these targets means the soil dries out faster and weeds establish more easily.
 Before
 After
After
Step 3: Order Material and Confirm Coverage
Material ordering is where most homeowners either under-order (and pay a second delivery fee) or over-order (and end up moving material for hours). Getting this right takes a few minutes but saves real money.
**Calculate your coverage**: Add up the square footage of all beds you're covering. Divide by 100 for cubic yards at 3-inch depth (mulch) or divide by 150 for cubic yards at 2-inch depth (rock). Round up to the nearest half-yard.
**Material choices for Salmon Arm's climate**: - **Bark mulch (cedar or hemlock)**: Best for moisture retention around plants. Refresh every 2-3 years. Preferred for garden beds with perennials and shrubs. - **Pea gravel or river rock**: Long-lasting, low maintenance. Better for pathways, xeriscaping, and beds where you prioritize drainage over moisture retention. - **Crush (3/4" minus)**: Functional drainage in areas with standing water or poor drainage. Not as decorative but highly effective.
**Confirm delivery access**: The delivery truck is typically a 5-8 ton dump truck. Confirm that it can access your property. If the truck can't get close, you'll be wheelbarrowing material from the street — factor that labour into your project plan.
**Order by early April**: Good local suppliers sell out of popular materials early in the season. Ordering in February or March (even for May delivery) gets you first choice on material quality and delivery dates.
In Salmon Arm's dry summers, mulch depth matters. A 2-inch layer dries out and loses its moisture-retention benefit quickly. Apply mulch 4 inches deep around plants and shrubs. The extra cost in material is paid back in reduced watering through July and August.
Step 4: Install Material
Once prep is complete and material is on site, installation is largely a physical task. A few techniques make it faster and the result better.
**Install weed barrier first**: If you're using landscape fabric (recommended for rock, optional for mulch in established plant beds), install it now before material goes down. Overlap seams by 6 inches and pin edges flat with garden staples.
**Work from the center out**: Start in the farthest area from your material pile and work back toward it. This avoids walking over installed material and disturbing it.
**Mulch depth**: Apply in layers at 4 inches deep. Push material away from plant crowns and tree trunks — contact with woody tissue causes rot.
**Rock placement**: Use a flat rake to distribute rock evenly. Work methodically and check depth with a ruler every 10 feet. Thin areas (under 2 inches) look patchy and let weeds through within one season.
**Clean up edges as you go**: Mulch and rock invariably spills onto the lawn as you work. Sweep or blow edges clean as you finish each section rather than leaving cleanup for the end.
Keep mulch 3-4 inches away from tree trunks and plant stems. Mulch piled against wood causes moisture to collect against the bark, leading to rot and disease entry points. This is called "volcano mulching" and it kills trees slowly over years.
Step 5: Maintenance Schedule
Once mulch or rock is installed, maintenance requirements drop significantly. Here's what to expect going forward:
**Bark mulch**: Refresh the top inch every 2 years. Aged mulch compacts and loses its moisture-retention properties, but the decomposed bottom layer is beneficial and doesn't need to be removed. Top-dress over existing mulch in spring.
**Decorative rock**: Essentially maintenance-free for weed suppression if landscape fabric was installed. Annual weeding of any growth that appears through gaps or at edges. Rock doesn't need refreshing.
**Edge maintenance**: Check bed edges in spring and fall. Reset any edging that has heaved out of position from frost or displaced by lawnmower impact. Keeping edges tight is the main maintenance task for rock-covered areas.
**Topping up over time**: If mulch or rock migrates into the lawn after wind or rain, sweep it back into the beds before it kills the grass beneath. In Salmon Arm, a dry spring wind can move light bark mulch noticeably. Heavyweight materials (river rock, large crush) stay put better.
**Weed patrol in the first month**: The first 4 weeks after installation are when any seeds in the material will germinate. Pull weeds immediately before they establish — it takes 5 minutes to pull a seedling and 30 minutes to dig out an established root. Get to them early.
In Salmon Arm's dry summers, mulched beds can be watered less frequently than bare-soil beds. After a few seasons with proper mulch coverage, you'll notice a real difference in plant health and water bills during City of Salmon Arm restriction periods.
How to Prioritize Your Salmon Arm Mulch & Drainage Rocks Tasks This Spring
When everything needs doing at once, work through these tasks in order. Each step sets up the next one.
Common Questions
When should I start mulch & drainage rocks in Salmon Arm in spring? ▾
Does Cool Runnings offer mulch & drainage rocks services in Salmon Arm? ▾
What are the City of Salmon Arm watering restrictions in Salmon Arm? ▾
What's the most important mulch & drainage rocks task to do in Salmon Arm each spring? ▾
Can I book mulch & drainage rocks services in Salmon Arm year-round? ▾
Ramoy Brissett is the owner and lead landscaper at Cool Runnings, which he founded in 2017. With 9+ years of hands-on experience working in the Okanagan Valley's unique semi-arid climate, he personally oversees every job the company takes on. His expertise covers lawn care, sod installation, drought-tolerant planting, mulch and drainage, and full-yard renovations across Kelowna, West Kelowna, Vernon, Penticton, and Salmon Arm.
More about Ramoy →